Do you guys pour out the bloom water from the pour over? Do you take the filter/grounds out to do so?
Offering up my daily pour over process for critique:
Grind 30g beans
Boil water
Put filter in pour over, get it wet so that it sticks to all sides, pour excess water out of carafe
Put grounds in
Pour in 30-40g of water to bloom
Rest for a minute to 90s
Pour around the edges until it reaches about 200g total, wait for water level to get below grounds
Add more water to get to 360g total
Wait for it to filter through and drink
I do a thorough rinse of the filter using even more water than the actual brew. I want to make sure there’s definitely enough water to eliminate paper taste and also heat up the cone.
At minimum I would go 2x the grinds weight for a “standard” V60/Chemex style pour. The coffee can absorb at least that much and I tend to use more around 2.5x to 3x. Once the water is in, I mix up the slurry trying to evenly saturate all of the grounds. You can either stir it with something or spin it around like a centrifuge. There’s some debate over whether to do this carefully or aggressively: in my experience, carefully is better because too much agitation can clog the filter. Then I simply wait for CO2 off-gassing to stop before I begin pouring (usually 30 to 60 seconds).
I could be misunderstanding you but most people would say to avoid the edges unless you are trying to knock coffee back down into the slurry. Generally people start in the center and use a small spiral motion working outward then back inward while being careful not to touch the edge. Whether this does anything at all seems unclear but it’s probably the most popular technique.
Some people would say don’t do this while others embrace it (4:6 method). I don’t think there’s necessarily a correct answer. Just try be mindful of process details like this in case you change something.
12:1 ratio sounds rather strong. Which device are you brewing in? My default is 15:1 and then I adjust from there, but I pretty much never get outside of 14 to 17.
People say it’s because the fines move to the bottom but I have no idea if that’s why. I just know that if I do an aggressive agi, the odds of plugging it go up.
this talk has made me go back to the v60. results are definitely different from the aeropress with the same beans but not necessarily better - but I need to dial it in more, I think I need to grind more coarsely.
man that grind in the osmotic flow video looks mighty coarse! I agree that “osmotic flow” as a coffee concept is kind of woo-woo. And this is a first-level observation, but when the grounds aren’t all getting actively watered/extracted (as with the slow center pour in the video) then I dunno, just seems weird?
I’m nodding my head agreeing with lawnmower’s reply to zim. I don’t stir my bloom but lots of folks do and I should probably try it again. Agree that 12:1 is generally on the strong side; I also start at 15:1 and tweak from there. In my experience most fancy coffee places are landing at ~16:1 for most of their beans, but I do like lower ratios than my fam/friends and am often planting my flag at 13-14, I’m just hardcore that way. Years ago when I first started paying more attention to this stuff the guide I was using was recommending something like 11.5, which seems demented now but at the time it (sometimes) tasted great and these days I should probably push my luck more often. My water’s at 203F btw.
I’m also gonna tinker around with cupping this summer? I have zero experience and I’ll probably just end up trying it a few times. I think I’ll more or less follow this protocol so if you’re into this stuff then please lmk if you think that’s a bad place to start
It’s definitely coarser and I think the 4:6 guy also grinds slightly coarser than “standard” V60. Agree about the coffee bed not getting evenly saturated being a bit suspect and I find myself wanting to keep pouring. However, I noticed that the water backs up from the bottom and causes the top to mushroom into a dome shape, so I think everything is probably in contact with water except for the very top if you’re doing it correctly. You can see it a little better in this video:
He claims that maintaining the dome shape is the best way to control the flow rate, and that this in turn leads to more consistent extraction (I’m paraphrasing). My question is “Why?” I’ve watched other videos with this guy and he seems knowledgeable, so I don’t think he’s just making it up, but I’m not sure he knows how/why it works. The theory I’m mostly working from is this one:
In a percolation method such as batch brew, during most of the brewing cycle, fresh, clean water is added to the slurry while solids-packed liquid leaves the slurry. That causes the slurry’s solids concentration to decrease throughout the brew. So, while the strength of the slurry of a French press is always getting stronger, the strength of a slurry during percolation is always getting weaker. This is important, and is the primary reason percolation is a more efficient extraction method than immersion.
In other words, matching the incoming and outgoing flow rate allows for clean water with maximum extraction potential to pass through the grounds. If you pour all of the water in at once, then the water sitting near the top is both taking on coffee solids by diffusion (although weakly) and also rapidly losing heat, two processes that decrease its ability to extract solids quickly and easily when it passes through the bed. There’s an easy taste test for this which is to partition your brew stages into different vessels and compare.
That protocol seems standard. The point is that you can compare coffees quickly and easily while removing brew variables from the equation. There isn’t really much to cupping unless you are talking about isolating very specific tasting notes. I mostly focus on the different characteristics of the acids and then broad flavor classifications such as tea-like, floral, or type of fruit. If the flavor is really striking or distinct like green Jolly Rancher I’ll take note:
kinda just a generic observation, this sort of “well X is the best method” type thinking without any data or even argument to justify it is certainly not unique to the coffee world, but dang it sure is endemic. I certainly would love to find out why (and how) certain things work and and others don’t, but I’d settle for just some decent blind taste testing data.
I keep pretty detailed records as I vary aspects of my brews (timing, water temp, amounts, grind size, etc) but since it’s just me (and I’m obviously not tasting blind) there are probably a ton of variables I’m not controlling for (e.g. what I’ve eaten recently, etc) that might throw my results off. I feel like most of the time I can’t really dial in a recipe for a particular roast before I run through an entire 250g bag.
well some aspects of it are extremely subjective but something like “when I increased the water:coffee ratio I noticed less acidity” would be better than “this is the best water:cofffe ratio” with the unspoken “I know this because all of the other coffee blogs said so”.
especially if they’re doing this testing in some sort of structured method. it doesn’t have to be the most rigorous to be an improvement over the seat of the pants “I like this and I’m going to write about it authoritatively because that’s how you become an influencer” method
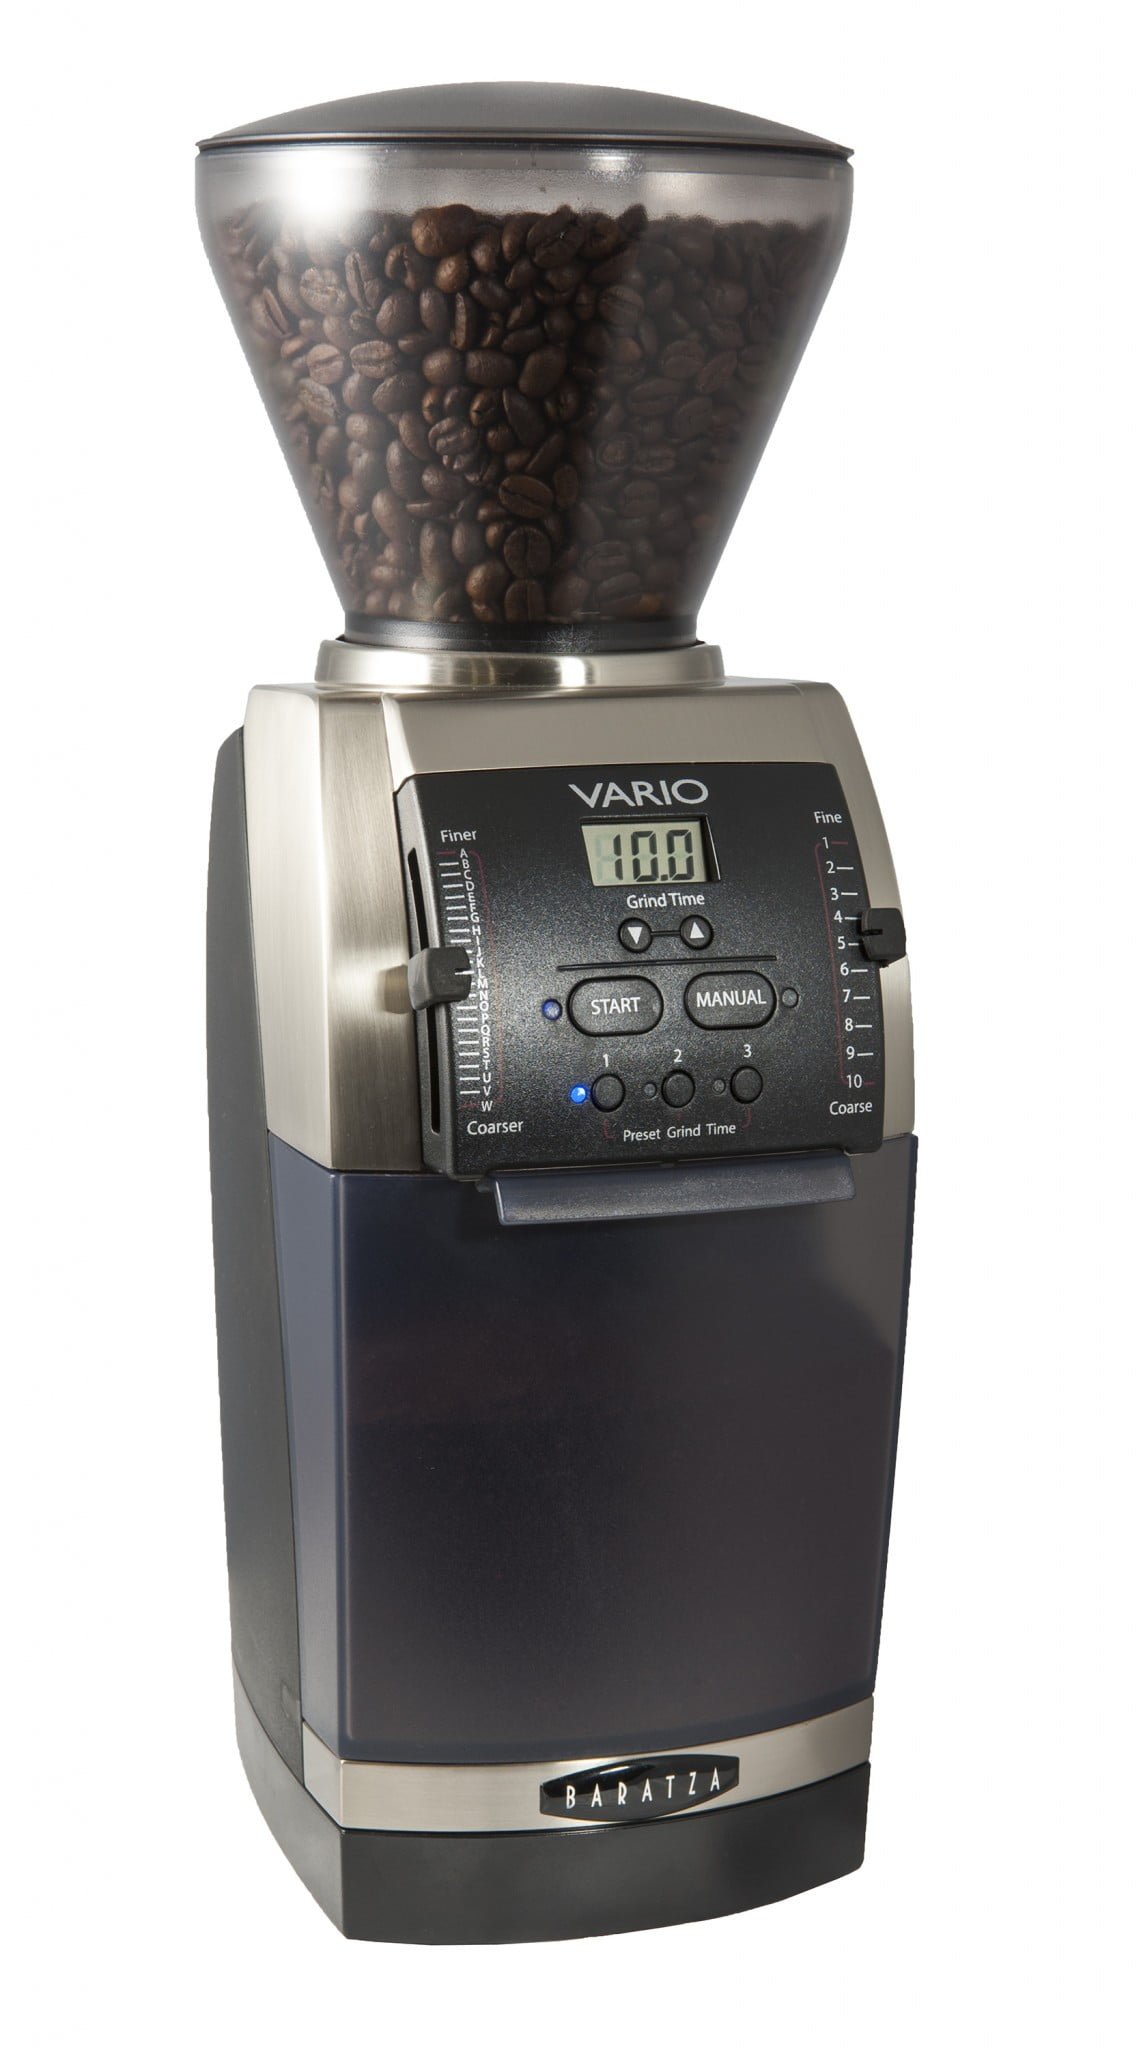
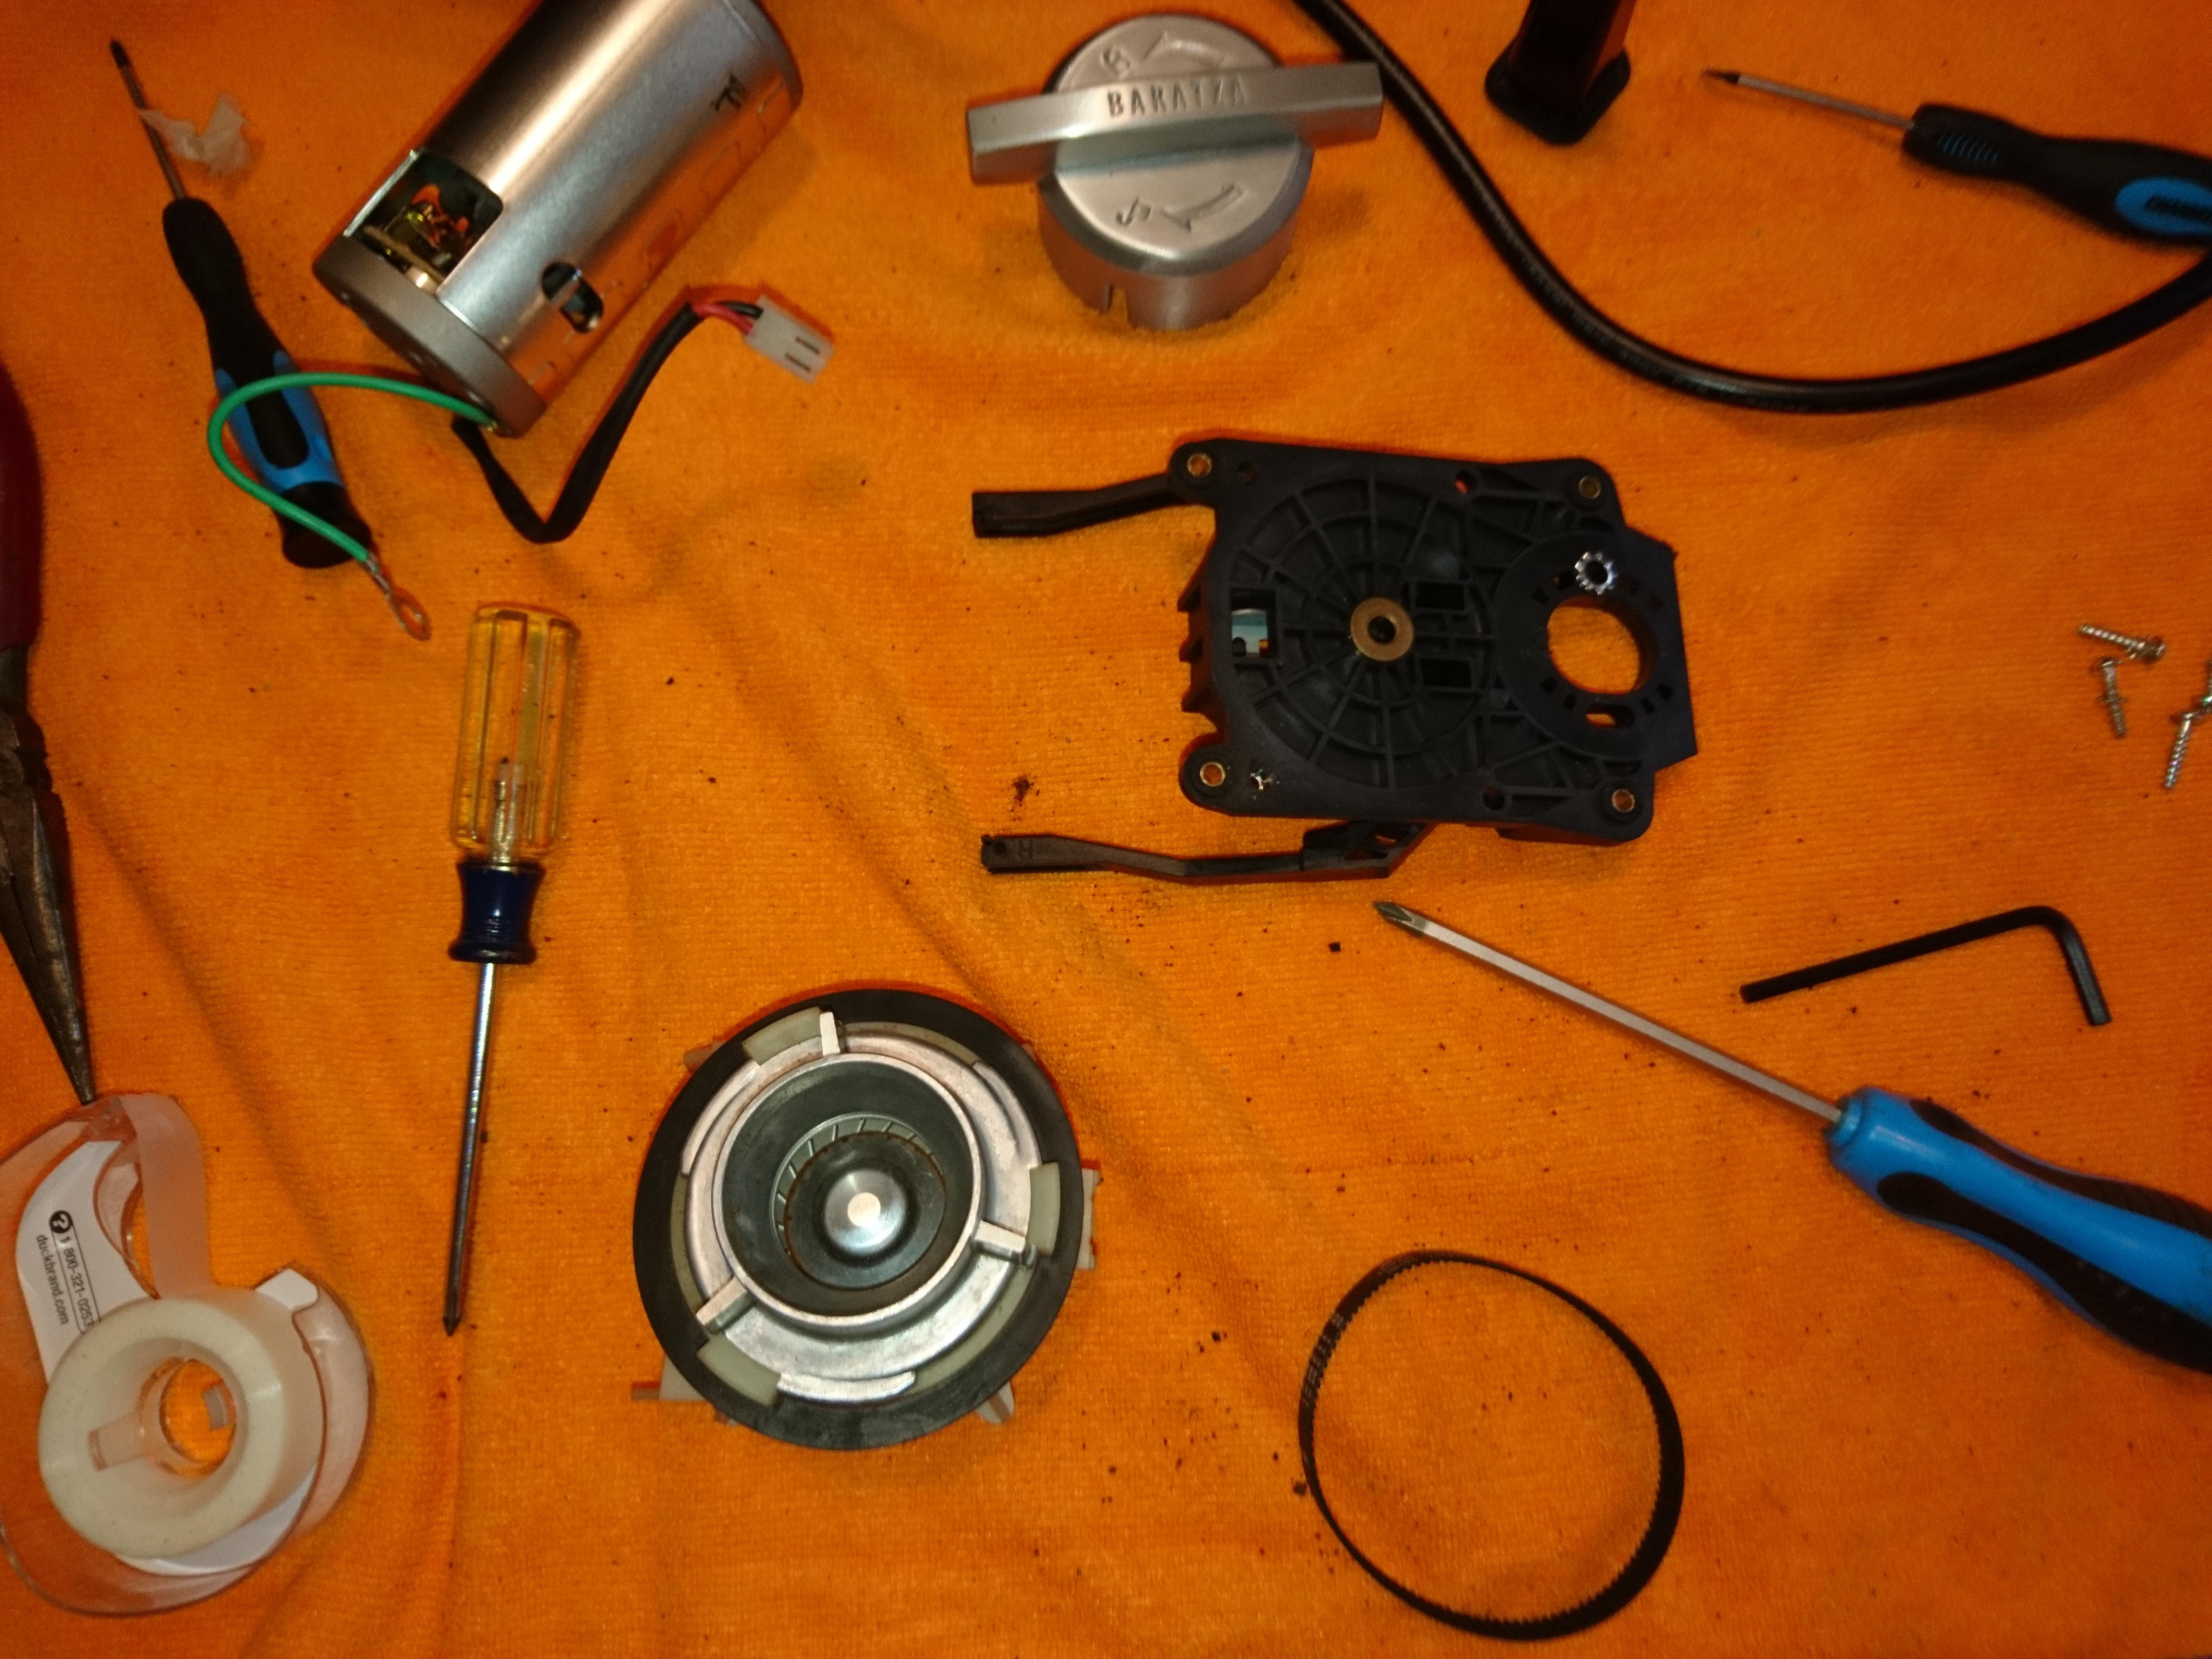
Intend to tear this Vario down today for general inspection and an alignment attempt without the upgraded parts. The process itself seems fairly straightforward. I’ll check the alignment first with the ink test and then see how much I can improve it before throwing another $50 at it.
I have two different scales I’ve been using that I intend to review for the thread. Neither is perfect and there are pros/cons for each that I’d like to point out.
@pvn I also added some quality loose leaf tea to my latest coffee order since it was cheap and bumped me to free shipping. Other than matcha I’ve never really gotten into high-quality tea cultivars. Is there a Panama gesha of tea that would blow me away?
I’m a tea dilettante. I mostly drink it when I find myself at starbucks (their green tea and their chai are both pretty good IMO as a casual tea drinker, much more enjoyable than their drip or espresso).
My wife briefly looked like she was going to get “really into” tea but I think she quickly found it too much fuss and went back to getting whatever in bags, which pretty much ended my brief excursion.
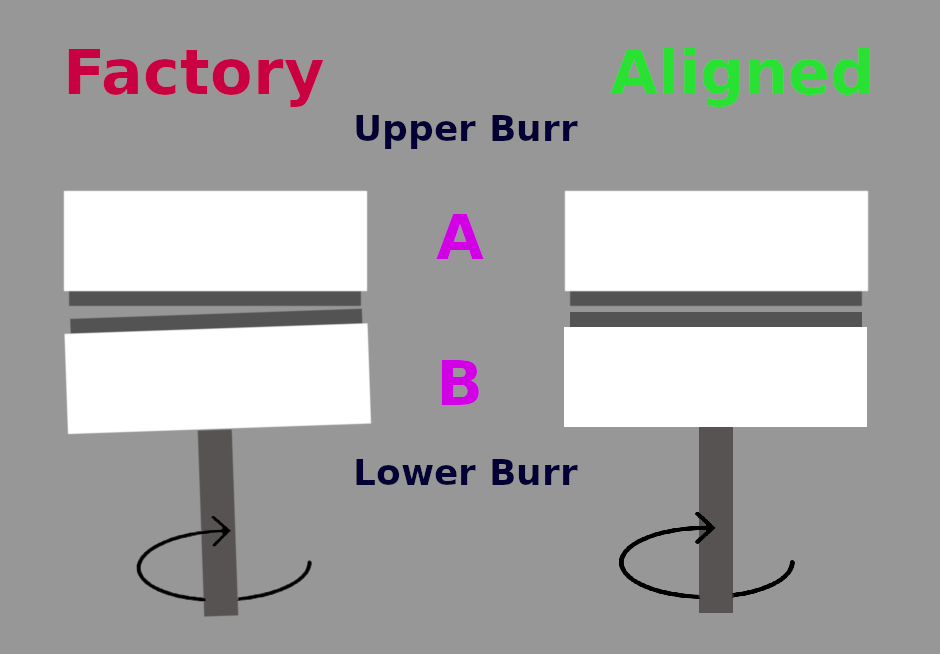
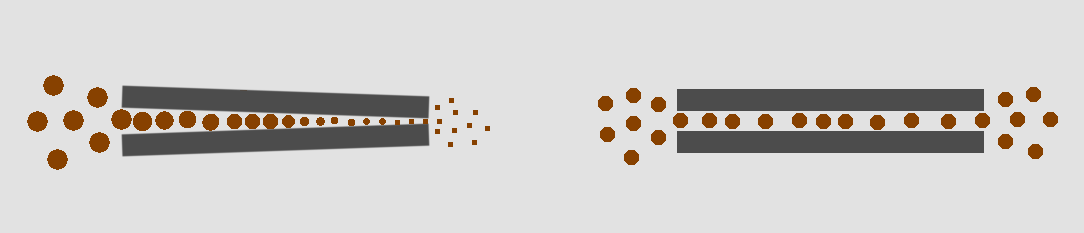
I should probably explain what I’m doing. Basically some dudes on a coffee forum figured out that these Baratzas (all Vario and Forte models) can be aligned to a level of precision comparable to grinders that are thousands of dollars (this is because the rotating piece has very low runout). The advantage is the ability to grind at a very consistent, unimodal particle size, but only if the upper and lower burrs are squared up. There’s nothing new or unique about this–even the revered EK43 requires precision alignment. Here is the problem:
You can see how a misaligned factory grinder is problem: for any target grind setting, the misaligned burrs (left) will produce a range of particle sizes from boulders to fines depending on the degree of misalignment. Aligned burrs (right) will produce far more uniform particle sizes. The trick here is basically pushing the burrs together to force alignment and then securing the mounting screws to hold that alignment.
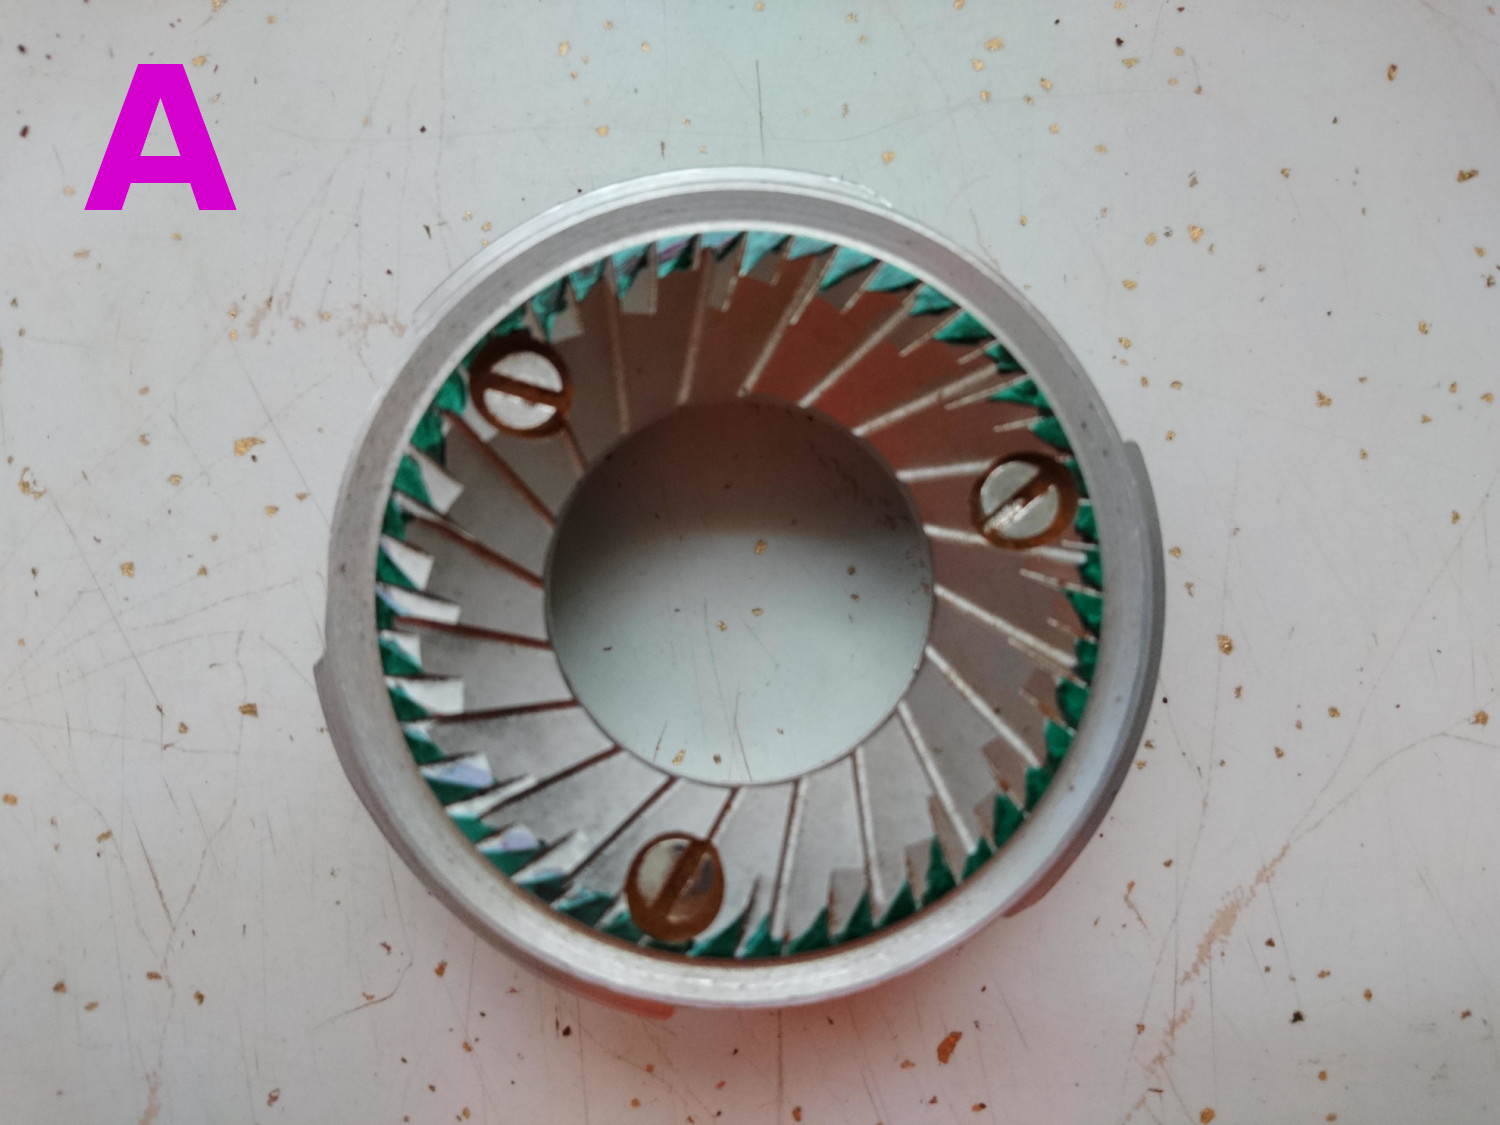
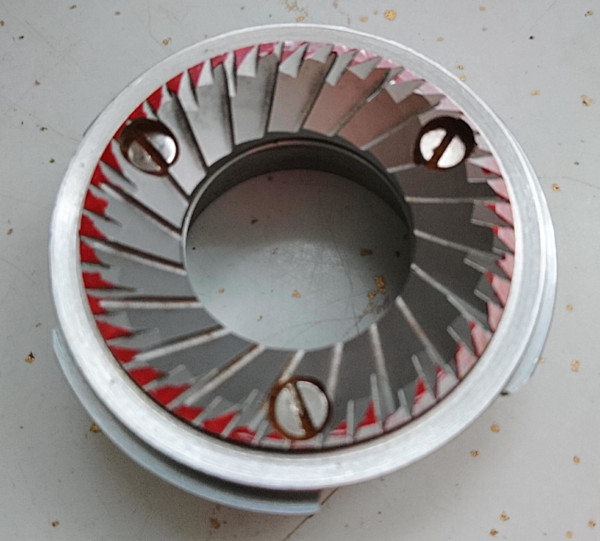
To check alignment, we can color the flat outer ring of the burrs with ink and then run the motor briefly while the two burrs touch. But really we just need to pay attention to the top burr since it’s stationary. The bottom burr is rotating, so it should clear ink all the way around unless it’s warped. Here is the top burr just after adding ink. Everywhere you see green is a flat and highest part of the burr surface that will come in contact with its mirror image on the lower burr.
Now we just need to spin it while they’re touching and see where the ink rubs off. If it wears evenly then the burrs are aligned. If it doesn’t then there are high and low spots which are usually fixable by shimming the top burr with foil or something. Then repeat until the pattern is uniform. However, mine aren’t touching at all right now, so I think that means some adjustments on the coarse calibration screw are required.
Typically for percolation we’re shooting for the 400 to 800 μm particle size. The problem with fines (< 400 μm) and boulders (> 800 μm) is that they extract unevenly in opposite directions, and the flavors produced by that suboptimal extraction tend to be rather strong, masking the delicate flavors in high-quality coffees. Probably doesn’t matter for darker roasts much if at all. However, for lighter roasts packed with sugars and acids, it appears to be the formula for these paradoxical brews that can taste both bitter and sour at the same time while not having much clarity for specific tasting notes. It obviously applies to espresso as well since you’d like to have the ability to go super fine without choking the machine.
People have noticed the problem a lot especially with the gold standard EK43. They pay $3k for a grinder that produces unremarkable coffee and wonder what all the hype is about. It turns out that the hype is from an EK43 with excellent alignment, but they don’t ship that way from the factory. You can see here that it’s a pretty similar procedure for all flat burr grinders:
First marker test == fail. I thought these were dry-erase markers but upon further examination they are wet-erase markers and not clearing even significantly past chirp. Might have to hit those mean covid-filled streets for a marker run.
Located a marker. Well, this seems unusual compared to most I’ve seen. I flipped it over keeping the clockwise orientation intact (bottom screw is dead center to the front face of the grinder).
You can see that it’s clearly a left/right thing and not a front/back thing. Many of them are front/back wipe patterns due to tension from the belt. This is a 6:00 to 12:00 pattern. I dunno what the mechanical reason for that might be, so I’m gonna shim this with foil under the red ink for now.